"Magic Cords" - Do They Work?
These video transfer cords hit the market, and people started digitizing their tapes at home. However, it seems people are not getting satisfying results with these things.
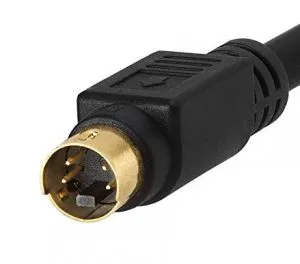
It appears that it is probably not capturing true "S-Video quality" analog signal to digital. Perhaps, it is instead using a little trick of utilizing the signal from pin 2 and 3 of the 4 pin mini-Dim plug (wiki info on S-Video) to "capture" a less colorful and softer looking video image. These days specs are hard to read and sometimes difficult to trust.
There is a reason why we do NOT use any of this here at FilmFix -- we stick with what we know for a fact works exceedingly well!
If you already have a so-called Magic cord with converter like this, and are intent on using it, it would be good to jump down to our "Set-up Check List."
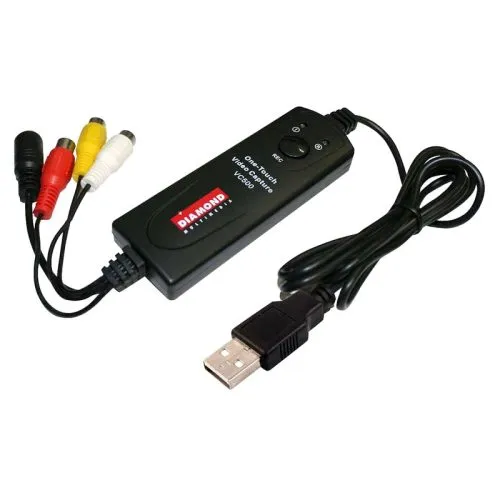
Diamond VC500 available here at B&H for less than $36.00, but before you buy, it's good to know its limitations.
The Diamond VC500 specs say ....
"Video Capture Formats: MPEG 4, MPEG" and "(600 MB to 3GB required for 1 hour of recording)".
The upshot is: You will be capturing a highly compressed video, because a standard quality video file uses about 13GB for 1 hour of recording -- not merely their advertised 600MG - 3GB. Sure, using their cord you'll end up having the convenient MP4 file, but later if you want to upscale your video to 1080, it won't work. It will just look muddy and unsatisfying.
This is why we don't use this type of "magic cord."
It's advised to do your research and read other's reviews -- available online.
Sure, it's easy to set up -- but user beware!
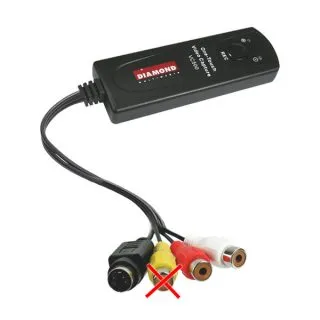
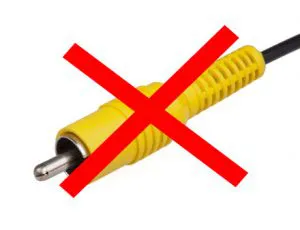
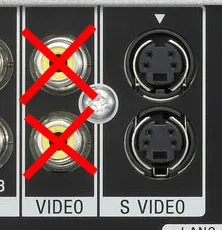
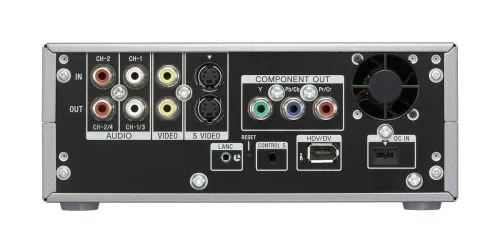
Video decks and cameras normally provide a video-out connection. Only a few higher-end units provide you with an additional S-Video connection. Please make sure to NOT use the yellow connection for the video signal, but instead use the S-Video mini-Dim plug.
You will be able to get an image using the yellow plug, but it is a substandard, much lower quality image.
A clean S-Video signal "is king." If your unit only has a yellow RCA plug, consider using a different unit that has an S-Video plug. It really makes a difference! You may want to try your luck on eBay for a unit that is in good shape and which provides you with an S-Video port.
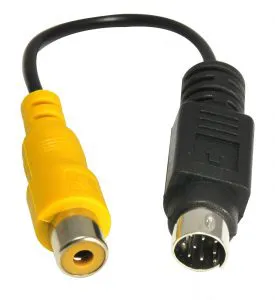
Don't be fooled by this adapter cord
Our advice: Do not use one of these converter plugs. They will not bump up the image quality, they will only bump it down.
What we use at FilmFix:
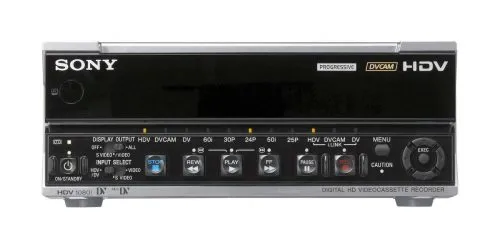
We use professional decks that offer S-Video signal in and FireWire out (a.k.a. IEEE 1394.) And, we go from FireWire out straight into our computer to produce the best quality recordings possible.
The magic really starts to happen when we start up-scaling the captured material to 1080 HD. Here is a link to our do-it-yourself blog post on how to go about that.
Set-up Check List
- Be sure to use the S-Video signal (not the yellow RCA video connector -- as explained above in this blog post!)
- Make sure you are using at least a USB 2.0 port (or a faster port - ie. 3.0.) The USB 2.0 port should be able to keep up with "up to" a 60 MB/s data stream. Your video signal will require about 15MB/s see here (... provided I did my math correctly. Our calculator is still a work in progress ...) So, the upshot is a USB 1.0 port will not be able to keep up with that kind of data and you will have definite, and serious dropouts.
- Check that your internal hard drive can keep up with the data-rate you will be writing at. Defragmenting (a.k.a. de-fraging) your hard drive prior to recording is a good practice -- especially if your hard drive is getting full.
- And lastly, be sure to capture a stream with a minimum amount of compression. So, do not use an MP4 type. You will need that extra data for the upscaling process.
- Make sure you are not using this so-called magic cord with a dinosaur of a computer. Video capturing and processing in real-time will require some computing power. It is not because your phone can do it, that your computer can also do it! And while it is doing it - do not be playing your favorite video games in the process.
- After transferring your first tape, please STOP and check. Play back the entire recording - don't just "spot check" it. Make triple sure your transfer looks as good as you expect it to and that you are happy with what you just captured.
Stay digital if it is already digital
Mini-DV and Digital-8 tapes hold digital data. If you have Mini-DV tapes or Digital-8 tapes, please do not use the above discussed "analog" magic cord. Instead, stay "digital" by using a fire-wire connection to your computer.


